Sunday, July 5, 2015

First Date in the New (old) Car

The interior is basically finished now upholstery, carpets, even seat belts. I had no idea how hard it would be to do the upholstery. No more driving around sitting on the floor or with the seat just thrown in the car.
 With the interior done it was time to focus again on getting the weber dialed in. I spent many hours setting and resetting the adjustment screws to the default settings while trying different jets, but I could just not settle it down. It was always running rich and rough. I finally did get it fixed with the help of Chris and his crew at Harold's Garage. Those guys are magicians. It appears the float was set too high and the choke was never fully closing. They had to soak the choke unit until it cleared and fully closed. Then they called me to pick it up Thursday morning. Chris said they had been driving the car a lot. He commented on how spirited the engine was and said what a great time they were having driving it. He told me both he and his mechanic had big smiles on their faces. I think they were as happy as I was that it was running so well.

I covered the car with insurance over the 4th of July weekend and was able to drive it home Thursday afternoon. I did take the long way home. Friday evening Lori and I took a ride down to Wine 30 for our first date in the car in ~33 years. It's been a long road to recovery for this little car. But it is absolutely a gas to drive. Thinking back to the million or so times I checked the cam setting so it was advanced exactly 4 degrees (4 degrees is about 1/32 of an inch on the timing gear) and all the other meticulous checks and modifications that went into the engine, and to see it all come together and work really right is just incredible. Here are a couple of videos. They are really compressed due to Blogger restrictions.


Things still to be done. The paint still needs to be cut and buffed. Need to buy new tires. The Michelins are 33 years old. They look great but rubber that old cannot be trusted for more than a few miles. Need to add bumpers and all of the trim pieces once the cut and buff are complete. There re also a few electrical glitches to work out. But with British cars, that is an ongoing issue.

Monday, September 22, 2014

First Test Drive

Hello everyone,

I have been a bit too busy to post for a while. In this case I think a couple of pictures are worth a thousand words. Still need to install the interior and chrome pieces. The weber definitely needs to be dialed in so it is idling fast and running rich. It will take about 500 miles to break in the engine so I can really tune it in. . But, take a look at this! It runs, turns, and stops!
 

Saturday, June 14, 2014

Phase II Progress - Dashboard and Steering, Interior Sound and Heat Shielding, Door Assembly, Fuel Tank, Heater, Carborator

Sorry for it being so long since the last post. I have been busy. I have just found it more fun to be working on the car than writing about it. I have finished the dashboard wiring and installation of the steering column and steering wheel. All pedals are in, all of the hydraulics are bled and ready to go. I still have heat and sound shield to install in the floor under where the seats go and in the doors. Moss had a 20% off sale and I ordered the complete interior, new seat covers and foam, plus the carpet set. Those will be the last things to go in.


Gas Pedal. Brake and clutch are all connected and ready to go.


I started the door assembly witch entails installing the door handles and locks, window crank assembly, the window itself, new rubber and felt trim pieces and new rubber around the quarter lights. That's what the Brits call a wing window. Held up now waiting for a rubber seal that is back ordered.


 I installed the fuel tank and just got the new aluminum fuel line. Will be running the line and installing a new fuel pump soon.


The Heater Fan and box are all refurbished wired up and installed. All hoses are connected now so the cooling system is ready to be filled up.


Finally, Take a look at the weber installed! Note the progress on the engine wiring. The starter solenoid, coil, distributor with electronic ignition, starter, and generator are all installed and wired up. I am also waiting on one more oil cooler hose so I can seal the engine oil system and fill it. You can see the new FRAM orange oil filter if you look right below the generator. Off to a graduation party now.


Monday, December 16, 2013

A Merry Christmas Phase II Update

Hello and Merry Christmas to all. I have made enough headway to put together another post. Again, stopping and waiting for parts is the most frustrating of delays. However, I have managed to get the headlights and turn signals in. All new brake and clutch hydraulic lines are installed. I bench bled and installed the master cylinder. New rear wheel brake cylinders are installed as well as shoes and pads all around. I still need to bleed the brakes and clutch. Lastly, I installed the header after having it ceramic coated. I also have the manifold for the weber installed. I think it looks pretty cool. The main reason for doing the header now is that it allowed me to reinstall the steering column which was holding up the dashboard installation.

Headlights and Turn Signals
 
The front end is all wired.
 
Brakes and Hydraulics
 
I replaced the original rubber hoses with stainless steel front and back


Header and Manifold


Sunday, July 21, 2013

Phase II Update

I have been reminded by more than a few of you that I have not posted for some time. I have been working on the car though Lori reminds me that there needs to be balance in our lives so every waking moment is not spent in the garage. Ask me about the bathroom remodel. Sigh. Yet progress is being made. One of the things I am finding is that my approach to methodically working through each stage has it's advantages and disadvantages. The main purpose of this approach is to make sure that any area that I am focused on gets completed and I do not have a bunch of half finished sections on the car. While it helps me to not forget something, it can considerably slow me down when I need parts or have to stop figure out how something goes back together. Many parts deliveries and much head scratching later, I think I have a logical transition point. That being from the rear end to the front end. The two areas I have been focusing on are getting all of the work finished in the rear of the car and getting all of the under dash components in so I can install the dashboard.

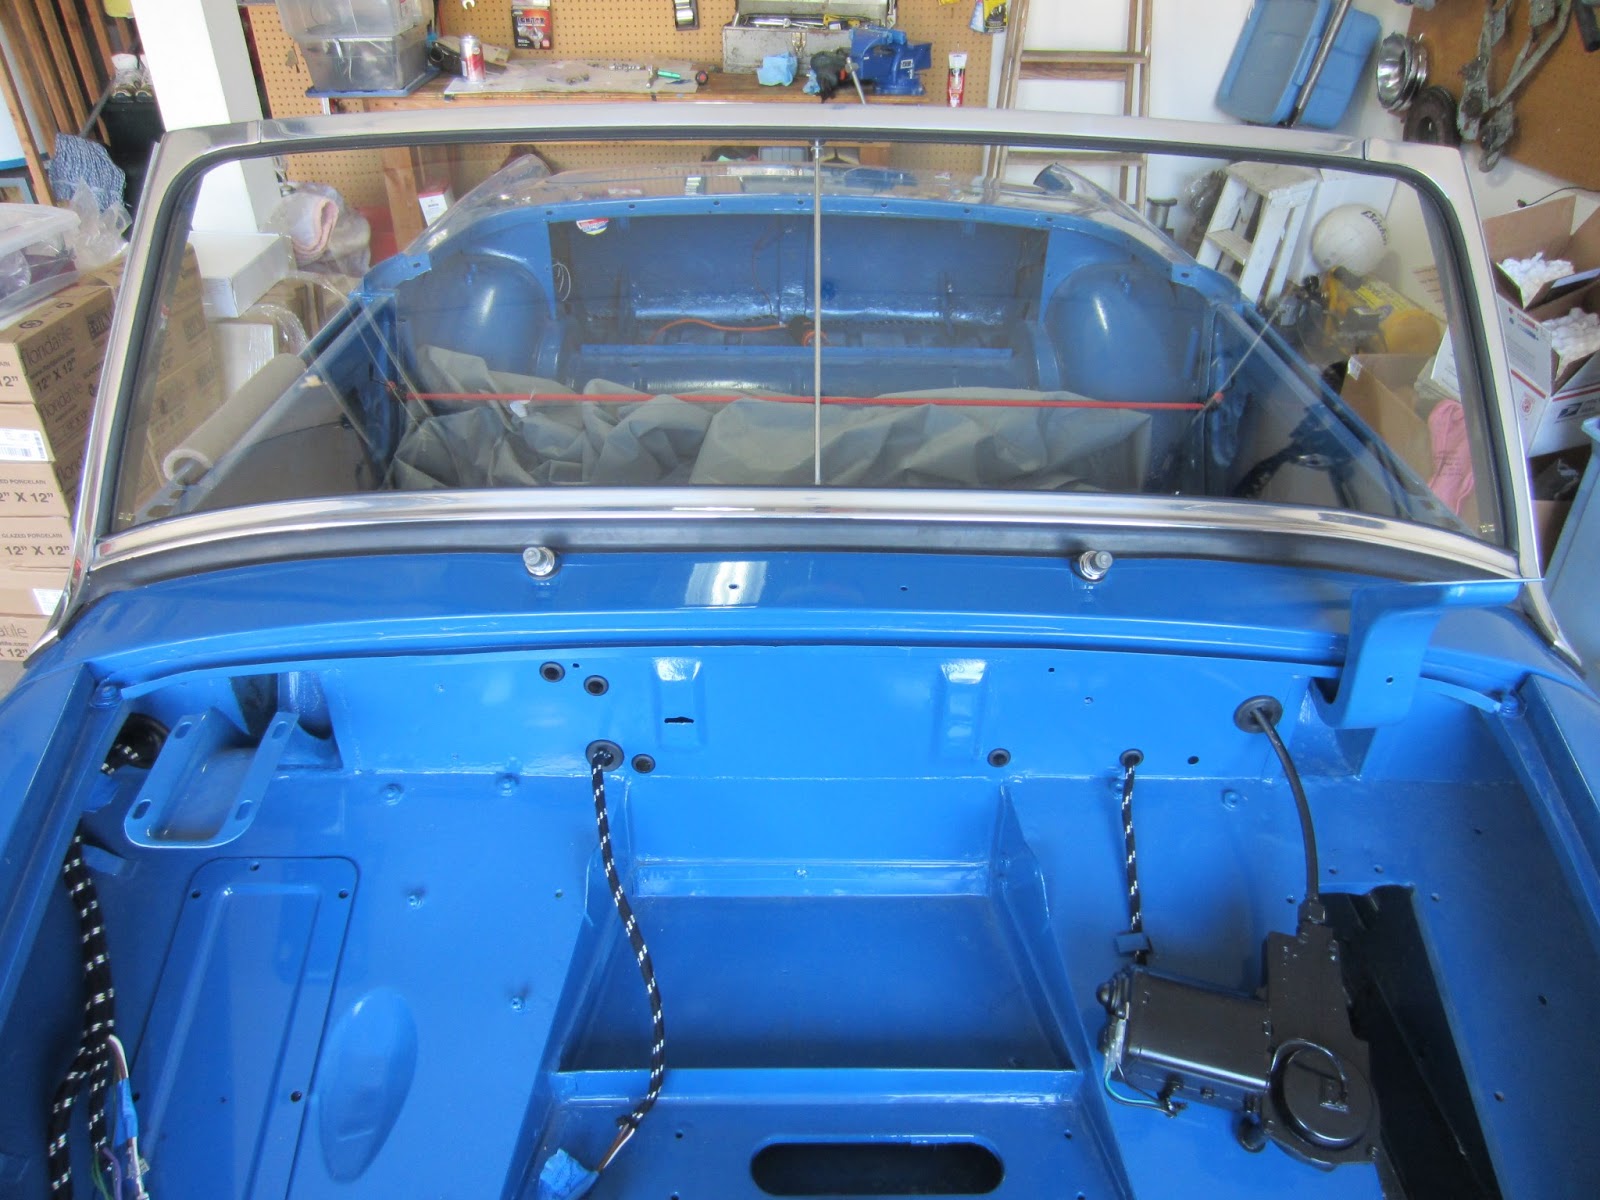
The latest accomplishments are: The wiring harness is completely in and all connections are identified and labeled, the windshield is in (it only took three times for me to like the result), the windshield wiper motor and mechanism is in, most of the dashboard components are mounted, both tail lights are in and wired up as is the license plate light. Essentially the complete rear end is wired and ready to go with the exception of the fuel gauge wiring for the gas tank.

Next stop. Headlights and front turn signals.


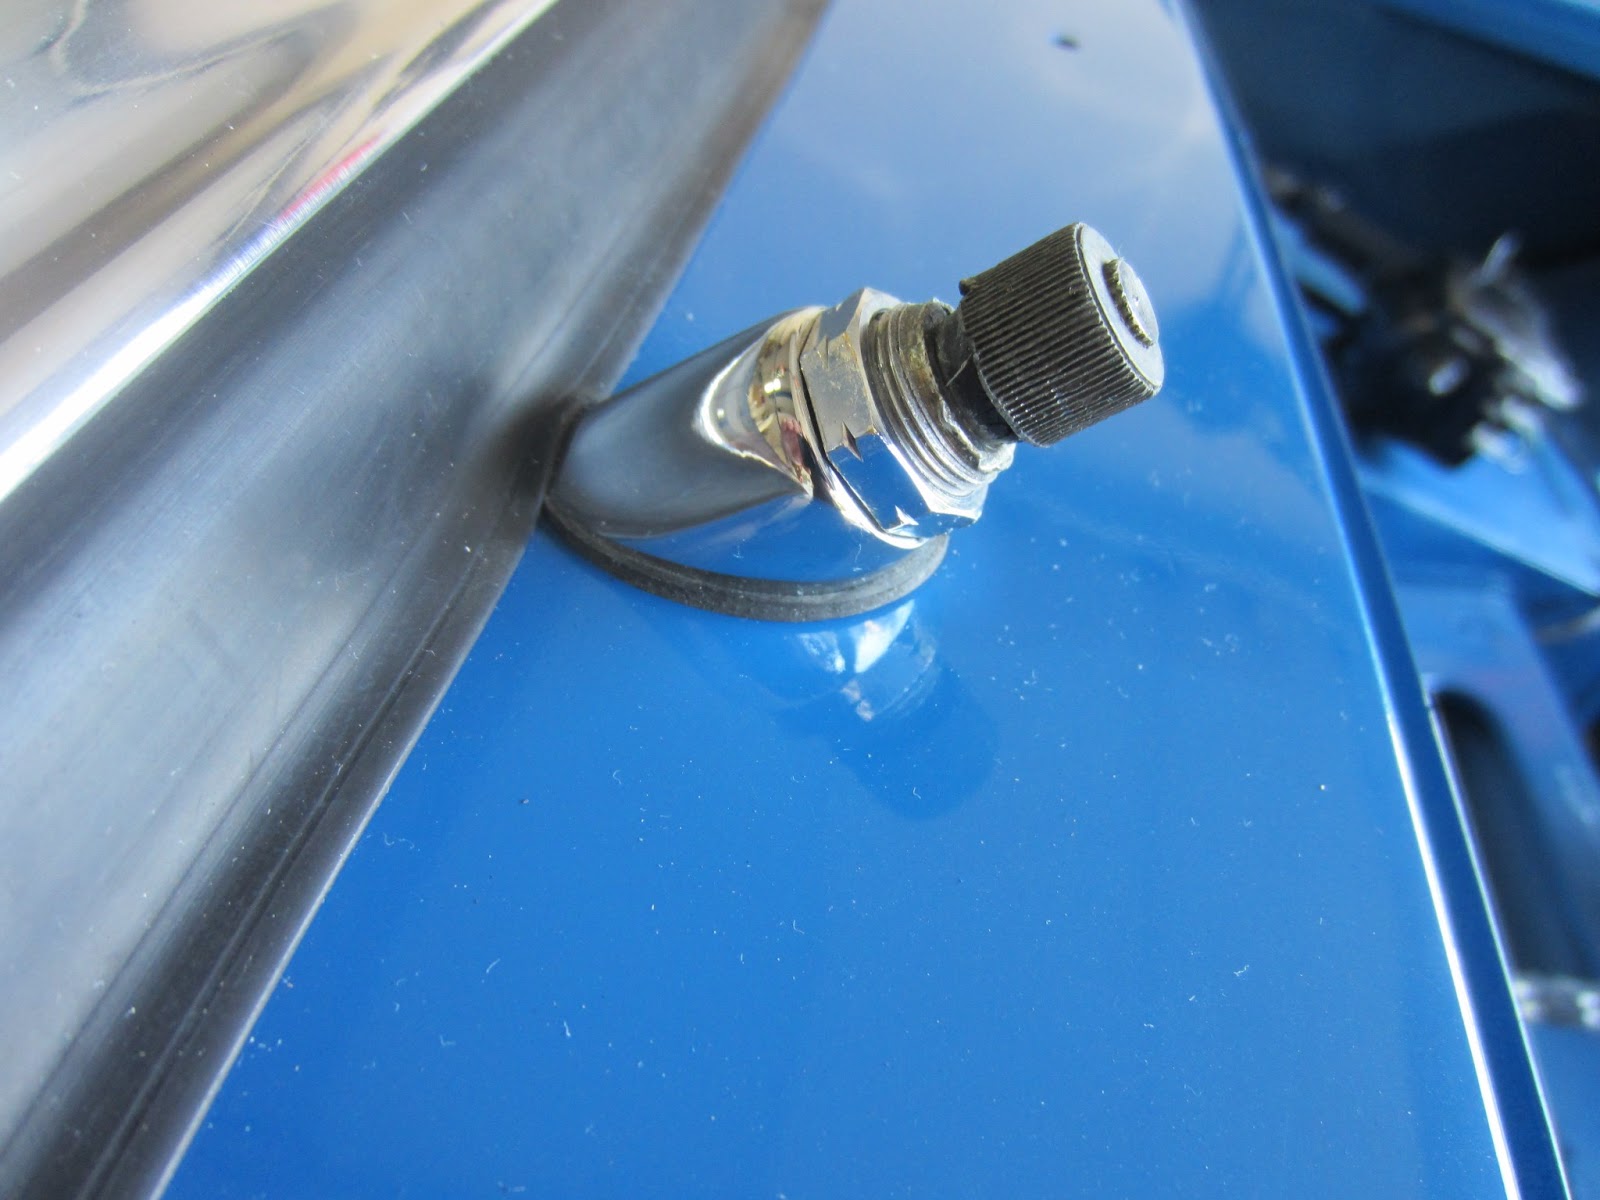
Windshield and Wiper Motor Assembly


Wiper Boxes


Taillight Assembly


Wired up taillight
 
Trunk latch and License Plate Light Assembly
 
The latch is new the plate light cover is well over 50 years old


Complete Rear End


Headlight and Turn Signal components


Tuesday, May 14, 2013

Phase II Begins

One of the best parts of this journey are the people you meet and the friendships you develop. One of those for me is a gentleman named Jerry who I have been talking to for many years, but only since my project came to life have we begun to trade parts, how to's and how not to's . I talked with Jerry at the recent swap meet at Montgomery Park and he told me that He knew the best aluminum polisher left in Portland. This is important because the windshield surround is aluminum and is in bad need of a good polishing. As part of phase II it is highly recommended to install the new windshield before the dashboard. Since the wiring harness, and thus all of the dash components are part of phase II, I thought I should heed the sage advice and get the windshield in first. This, in turn, led me to Jerry's buddy Paul. I contacted Paul and he was in agreement with Jerry that he is probably the best polisher left in business or still alive in Portland. He said to get the windshield apart, clean it up and bring it over to him. So I did.

 The screws were a lot more difficult than I imagined. I used a lot of penetrating oil and had to easy out two of them. But it finally came apart. The new windshield glass is in the box in the far left part of the picture.

I delivered the fully dismantled parts to Paul. Paul was really fun to talk to as he told me about his long career working in the polishing business and starting his own chrome and polishing shop in Portland. He has been working on his own subcontracting for a few select shops for the last 20 years or so. Everyone else in town ships their work out of state or does a less than professional job according to Paul. I can't wait to see the results.

In the meantime, I have started looking at the wiring restoration. I have the new wiring harness and pulled out the old one to compare them. Long ago, I was really good while taking the car apart to label every wire and leave as many components attached to the old harness as possible to make reassembly easier. There is good news and bad news. The components all look great (for 50 year old parts) but all of the ink on the labels has completely faded. (see the picture below) Fortunately. I have a new color coded wiring diagram to go by. So I think all will be well. Hoping that Dad's lessons will help me with this part as he was the wiring guru.


I first laid out the old wiring harness. I can see the whole car when I look closely, just as an anthropologist can see the whole body of T-Rex from a few half buried bones. This view is from the rear, tail lights, then dash components, then engine connections and finally the headlights. Below is the wiring diagram. Note the wiring is the same for MG Midgets. I checked a few of the old wires to see if the colors were the same as the new diagram and they matched up perfectly. So far, so good.

A few closer shots below of the old harness. Note the old plastic bags just falling apart as I they are handled for the first time in many years. Next will be to lay out the new wiring harness and label every connection. One lesson learned, I will not wait 30 years to read the labels this time around. Then plan when to move the existing components onto the new harness. I will show a picture of the newly restored and painted dash in the next post.
Turn signal lever, ignition switch, and a few switches


Fuel gauge


Nice label huh?